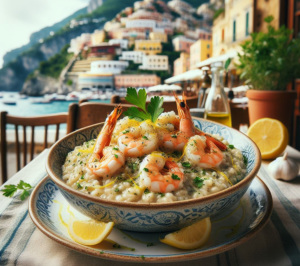
Indulge in the tantalizing flavours of the Mediterranean with our exquisite Risotto Frutti di Mare recipe. Bursting with the bounty of the sea, this classic Italian dish combines creamy Arborio rice with a delightful assortment of fresh seafood. Ingredients: Instructions:
Trim English Lavender Lightly in Spring: It’s Colour Coded!

Trimming Lavender is a lovely chore: the soft foliage clips effortlessly, the finished bush looks so neat and primed for summer, and you end up smelling even better than you did before. When to Trim English Lavender By the end of March or very start of April, Lavender across the UK should be covered in… Continue reading Trim English Lavender Lightly in Spring: It’s Colour Coded!
Bruschetta with Parma Ham, Brie, Sun-Dried Tomatoes, and Fresh Basil or Rocket

A delectable and sophisticated appetiser that combines the rich flavours of high-quality ingredients to create a delightful culinary experience. This dish is a modern twist on the classic Italian parma ham bruschetta, infusing it with a fusion of flavours that will tantalise your taste buds. At its core, bruschetta consists of grilled or toasted bread… Continue reading Bruschetta with Parma Ham, Brie, Sun-Dried Tomatoes, and Fresh Basil or Rocket
Traditional English Easter Biscuits Recipe

Dive into the spirit of Easter with our delightful Easter Biscuits recipe (St George icing not included). These sweet treats, infused with a hint of spice and citrusy zest, make a delightful rustic addition to your festive table. Ingredients: Instructions: These biscuits are not only delicious but also a fun Easter activity for the family.… Continue reading Traditional English Easter Biscuits Recipe
Holly Hedge Revenge: A Tale of Revenge and Hedges

Peter Walker-Smith and Tersia Van Zyl were best of neighbours until bins and hedges drove them to war…
Salmon en Croute with Spinach, Leeks, and Poppy Seeds
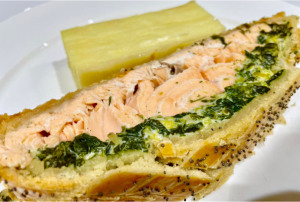
Indulge your taste buds in an exquisite culinary journey with this Spinach, Leek, and Poppy Seed-infused Salmon en Croute. This Salmon en Croute a visual masterpiece with a delicious celebration of textures and tastes: an unforgettable dining experience that effortlessly blends sophistication with simplicity. Ingredients:
Why Didn’t My Daffodils Flower this Year?

Daffodils (Narcissus) are perennial bulbs whose lifespan varies depending on the particular species and cultivar, the growing conditions and care, or lack thereof! With the correct selection of Narcissus and proper care, you can expect individual bulbs to come back for several years. Before an individual bulb perishes, it is a common sight to see… Continue reading Why Didn’t My Daffodils Flower this Year?
Growing Dahlias in Pots and Patio Containers

March is delivery time for dahlia tubers, which are too tender to plant out any earlier in most of the UK, apart from the mildest coastal South. Because it’s still too cold in most areas to plant them out until April, the best thing to do is pot them up and store them somewhere frost… Continue reading Growing Dahlias in Pots and Patio Containers
Vegetable Seeds to Sow in March
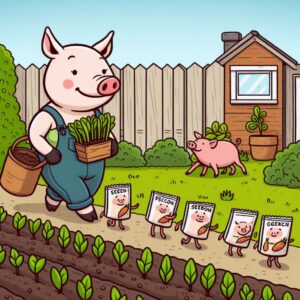
The snowy start to March is true to the ancient proverb about the first calendar month of Spring: in like a snow lion, out like a lamb roast (it’s all that fresh new mint for sauce). The days are lengthening noticeably, the soil is warming and soon to be frost free in some areas, and… Continue reading Vegetable Seeds to Sow in March
When Should You Cut Back Your Spent Bulbs?
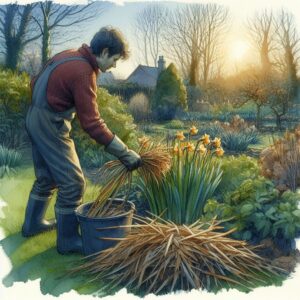
Is there anything more restorative than the first flowers of spring? Apart from spring flowers plus kittens wearing watermelon helmets, obviously? March is the time to enjoy the full array of spring bulbs – a rich reward for the aching back and sore knees from our efforts in Autumn. After such a wet winter, it… Continue reading When Should You Cut Back Your Spent Bulbs?