 Blog
Blog
Chelsea Flower Show 2026: The Plants to Know – And How to Grow Them at Home
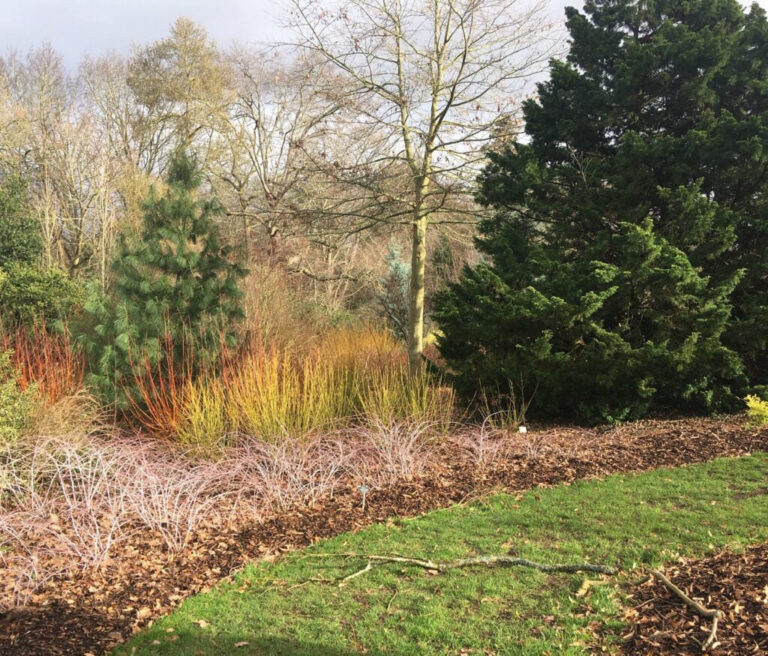
Chelsea Flower Show 2026 has opened its gates and the early reports are gloriously colourful – roses, clematis, salvias and delphiniums in abundance. We take a look at the biggest plant trends, the Plant of the Year winner, and how to bring a little Chelsea magic into your own garden.
Read more