Trees
Trees
Storm-Proofing Your Trees: Expert Advice from Tree Specialists
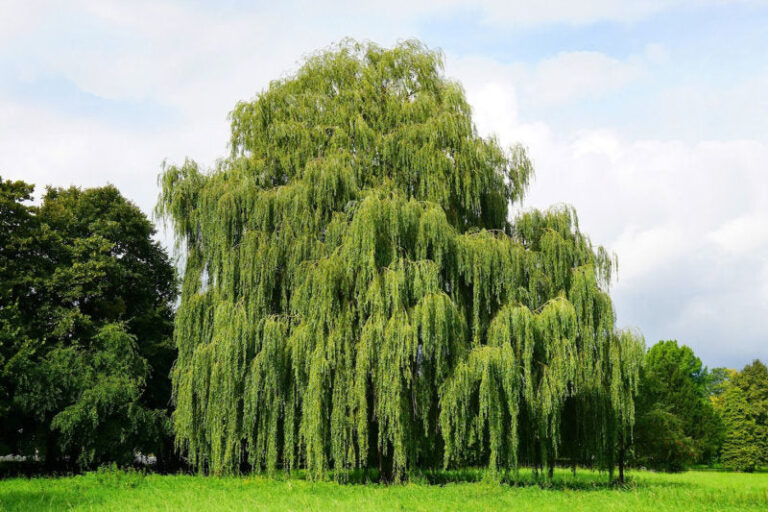
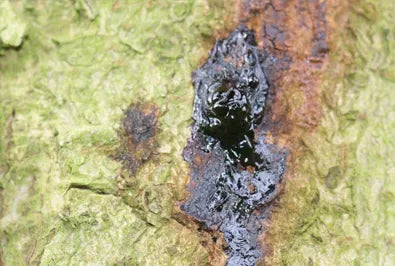
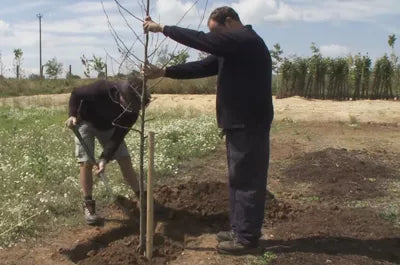
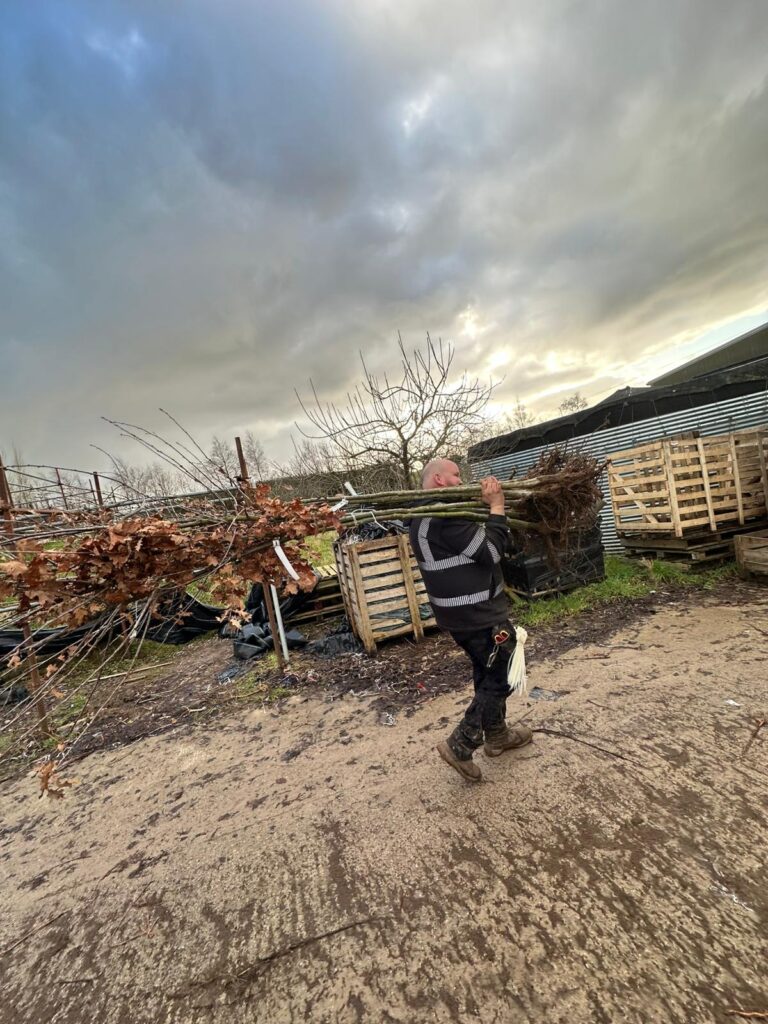
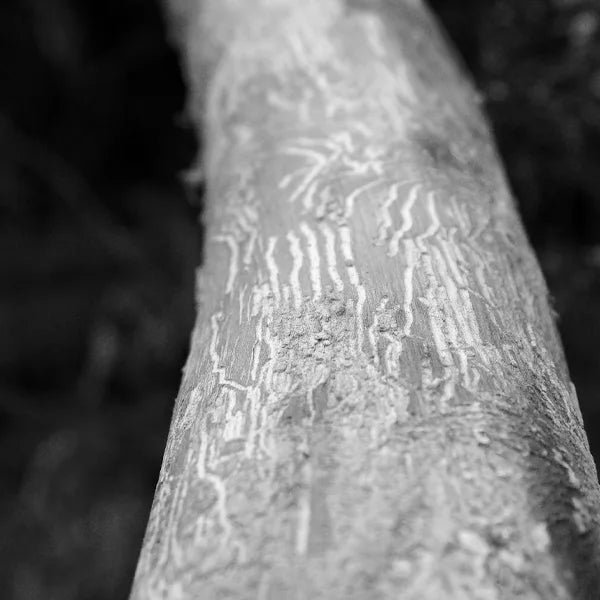
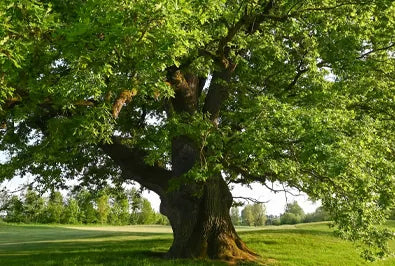
Curious about which trees are most likely to fall during a storm? Experts from Ashridge share their insights on identifying at-risk trees and explain practical steps you can take to reduce the risk. From proper maintenance to knowing warning signs, learn how to protect your property and keep your surroundings safe during severe weather.
Read more