Home>Roses>Climbing Roses>Lilac Bouquet
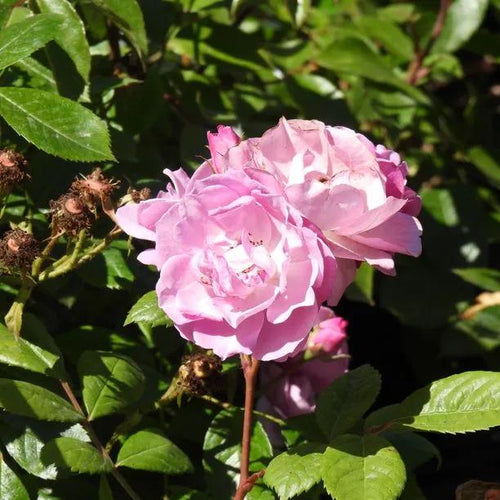
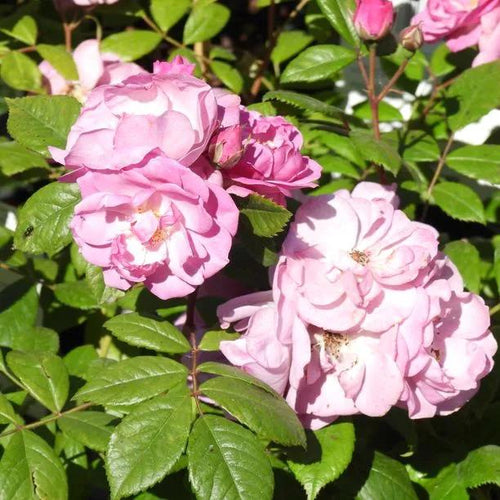
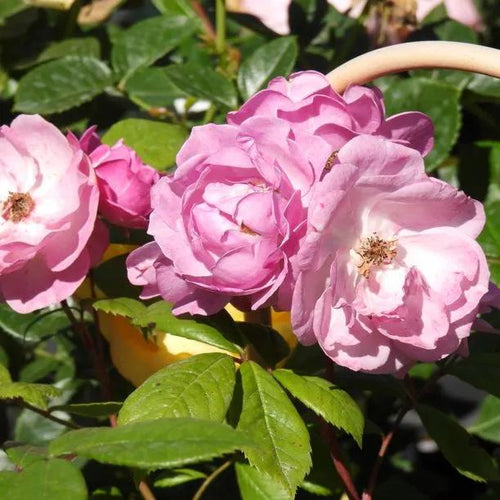
Lilac Bouquet Climbing Rose (Rosa Lilac Bouquet) 1Lilac Bouquet Climbing Rose (Rosa Lilac Bouquet) 1Lilac Bouquet Climbing Rose (Rosa Lilac Bouquet) 2Lilac Bouquet Climbing Rose (Rosa Lilac Bouquet) 3

Lilac Bouquet Climbing Roses

Rosa Lilac BouquetPlant guarantee for 1 yearFeefo logo

The details

  • Great for beginners
  • Colour: Lilac-mauve
  • Flower Shape: Double
  • Fragrance: Mild to none
  • Flower Period: Repeating June-September
  • Leaves: Deep-green, semi-glossy.
  • Height x Spread: 3m x 2.5m.
Choose a plant formWhat to expect
All
Potted
Bareroot
Choose a size
each
Qty
£
£ 12.96
each
Qty
£
each
Qty
£

Recommended extras

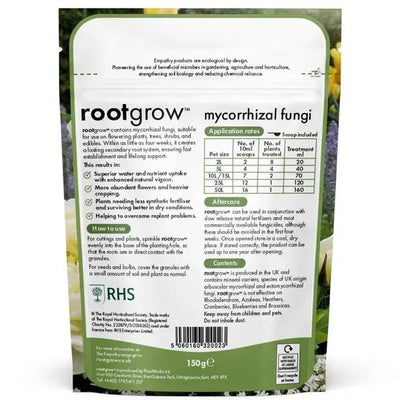
Rootgrow
Rootgrow Mycorrhizal Friendly Fungi From £5.88
Neudorff Rose Feed
Neudorff Rose Feed Organic Rose Fertiliser, 1 Litre From £5.87
Gloves
Gloves Latex Grip Gardening / Work Gloves From £2.88

Description

Rosa Lilac Bouquet - Climbing Roses. 4 Litre Pots.

A prolific lilac-mauve climbing rose, recommended for beginners thanks to its easy to manage, springy, almost thornless growth, and superb disease resistance. It has little to no fragrance, so it's one to plant where it can be admired from a distance. Blooms in flushes June to September. To 3m.

Browse our Climbing Roses or all of our Rose Bushes.

Features:

  • Great for beginners
  • Colour: Lilac-mauve
  • Flower Shape: Double
  • Fragrance: Mild to none
  • Flower Period: Repeating June-September
  • Leaves: Deep-green, semi-glossy.
  • Height x Spread: 3m x 2.5m.

Growing Lilac Bouquet Roses

Good, well drained soil, close to full sun, and something sturdy to grow it up is all you need. Roses thrive on clay as long as it is not too waterlogged in winter.

Did You Know?

Bred by Christopher H. Warner and released in 2017, registration name CHEwlilacdays. 

Planting Instructions

How to Plant Climbing Roses

You can order bareroot roses for delivery from November to March. Containerised plants are available year round. 

Soak your roses' roots or pots for a little while before planting. This is an opportunity to prune the stems down to six to ten inches, and inspect the roots to trim off damaged ones.

Choose a spot with reasonable light: semi-shade will do, but full shade will not. Prepare the soil by breaking it up with a fork while removing roots, stones, etc.

  • On dry, sandy and chalky soil, dig a big hole, then backfill it with a soil mix improved with three quarters organic material, including compost and manure for fertility, and leafmould or our Rocket Gro soil improver for water retention.
  • On good garden soil, adding some organic material is beneficial, especially manure. Dig a shallow hole, deep enough to allow the graft/union to settle right at soil level, and wider than the roots.
  • On really heavy clay, which rose roots love, you do not need to dig: slit planting is good, and you can use organic material as a mulch on top.

Spread some Rootgrow mycorrhizal fungi around the bottom of the hole,  where it will make contact with the roots.

Arrange a mound on the floor of the hole to set your rose's roots on, so they spread out, and the graft-union is slightly above soil level. Backfill the hole with the planting mix, firming it down as you go, at first with your hand to fix the rose in place, and then with your heel to firm it. Dust some bonemeal on the surface and water in thoroughly. In the process, the soil will settle down so that the graft is clear of the soil. 

How to prepare and plant a bareroot climbing rose video.

Mulch well in spring, and keep well watered during dry periods for the first year. Deadhead repeating roses to encourage continuous flowering. 

Newly planted roses shouldn't need much rose food, maybe a dash on poor dry soils. When they are settled in the second year onwards, feed them during the growing season with homemade compost teas and foraged sea weed, or some of our Neudorff rose food.

Mature shrub roses need gentle pruning compared to floribundas and hybrid teas. Prune to tidy the shape in winter. First remove the usual dead, diseased and badly positioned wood, ideally cutting out whole shoots back to a main stem, or outward facing bud. Then remove the wispiest stems, and some of the oldest wood from the centre.